Search and Find
Facebook: Create a Facebook Event
Facebook events are a great way to advertise your activities. This is because Facebook will even show your event to people who have not liked your Facebook page. You can also easily post to the event discussion page to communicate with the people who are interested in the event.
Start
1. Go to your Facebook page. On the left side click on the menu item called “Events.”

On the next page that appears, Click on the “+Create Event” button.

2. A new window will appear with all the settings for your new event.

3. Next Click on the “Change Event Photo” button. Use an image that
-
- Is 1920 x 1080 pixels (16:9 ratio)
- Has very little text. Use this tool to test if you have too much text.
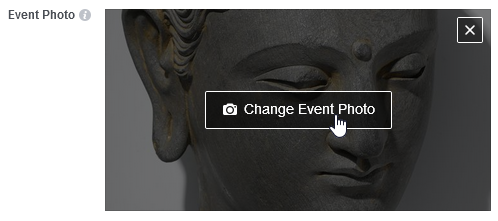
If your image is not exactly 1920 x 1080 pixels, you can drag the image to show the important part.

4. Fill in the event name. Choose a short name. At the end of the field is the letter count. In the example below, you can see that 24 out of 64 letters have been used.
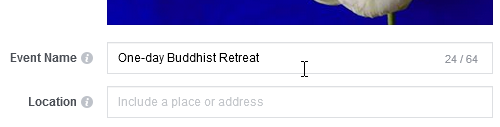
5. The location field can be either a “page” or an address. In the example below, as the address is typed in, pages at that address pop up. You can either select your page if the event is actually at your location or choose the “Just use” option. NOTE: If you are holding your event at a location that has its own facebook page, it is important you enter the address and then select “Just Use”. Otherwise, it will show contact information for the other facebook page.

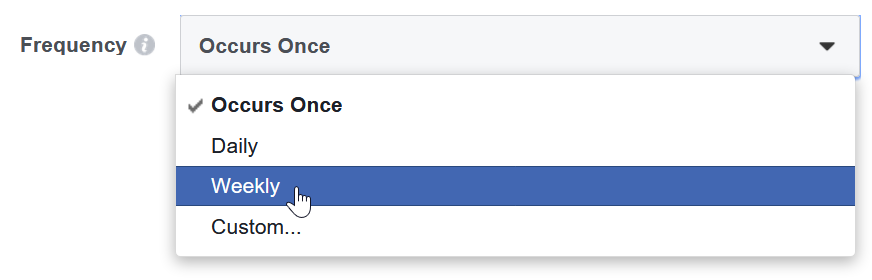
6. Next set the start and end date and time. NOTE: Now events can be scheduled for multiple days, even different times on different days. If it happens just one time, select Occurs Once. Usually you will want to make the starts date and the Ends date the same.
Frequency – ක ොපමන ල ට වරක් සිදුවන් බව

If your event occurs once, skip down to step #7
If it happens, say, for four weeks, you need to change “Occurs Once” to “Weekly”
Then you will be given options to pick the day of the week and time span:
If the event schedule is complicated, you can select Customize dates and times. This allows you to skip weeks and have each day at a different time.
Custom – තමන්ට අවශ්ය පරිදි ස ස් ල

7. Each event can have one category.
Category – කුමන ක ොටසට අයත් ද යන බව
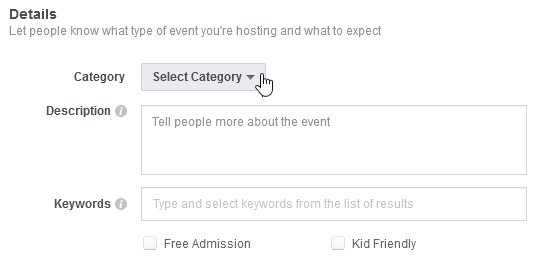
There are not many choices. “Religion” is probably the best. There is also a “Wellness” category that could work.
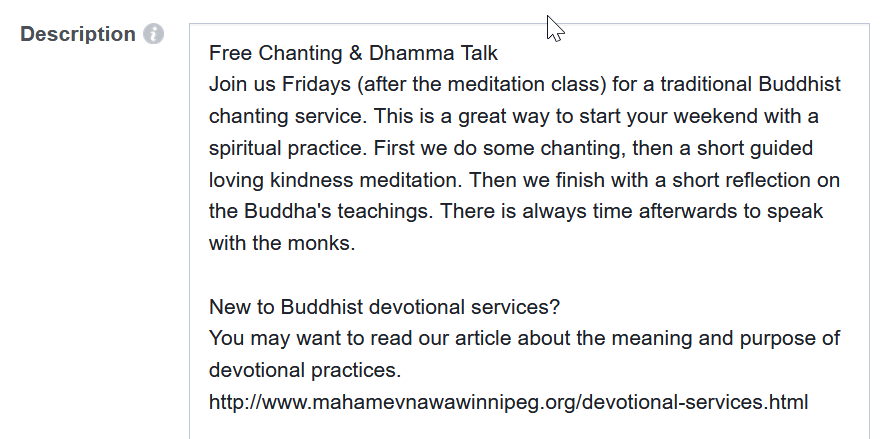
8. Next put in a description. Give as much information as possible. In this case more is better. NOTE: Always start again with the name of your event. This is because in some places the description comes before the title.
9. Then you can choose three keywords. You must pick one of the keywords that already exists. “Buddhism” and “Meditation” are good. NOTE: Categories and keywords are different.
Keyword – සැලකිල්ලට ගත යුතු වචන


The three best categories for our events are:
- Buddhism
- Meditation
- Spirituality (NOT Spiritism)
10. There are two more options, “Free Admission” and “Kid Friendly”.
Free Admission – ඇතුල්ීම කනොමිකල්
Kid Friendly – කුඩො දරුවන් සදහො සුදුසු

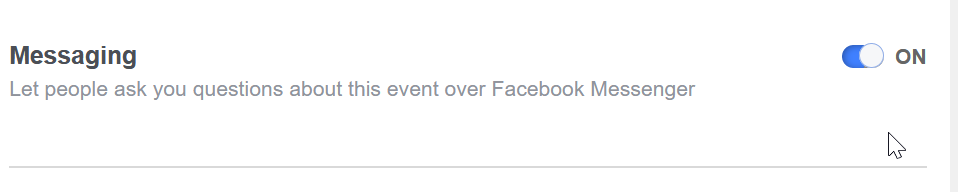
You want to select the Messaging option:
11. In the Tickets field put a link to the page on your website that has more information about the event.

12. Under Options, you can add another Facebook page to be a co-host. If this is an English event, it is good to make the Sinhala page a Co-host so followers of the Sinhala page can find out about the event too. Learn more about Adding a Co-Host here.
Host – අප අසපුව විසින් සිදු රන
Co-host – අප අසපුව විසින් සිදු රන වැඩසටහන දැනුවත් කිරීම සදහො තව ක කනකු සම්බන්ධ ර ගැනීම
Under Posting, you may want to choose “Only hosts can post.”

13. Last step is to publish or schedule the event to appear on your page.
Schedule – කපලගස්වො තැබීම

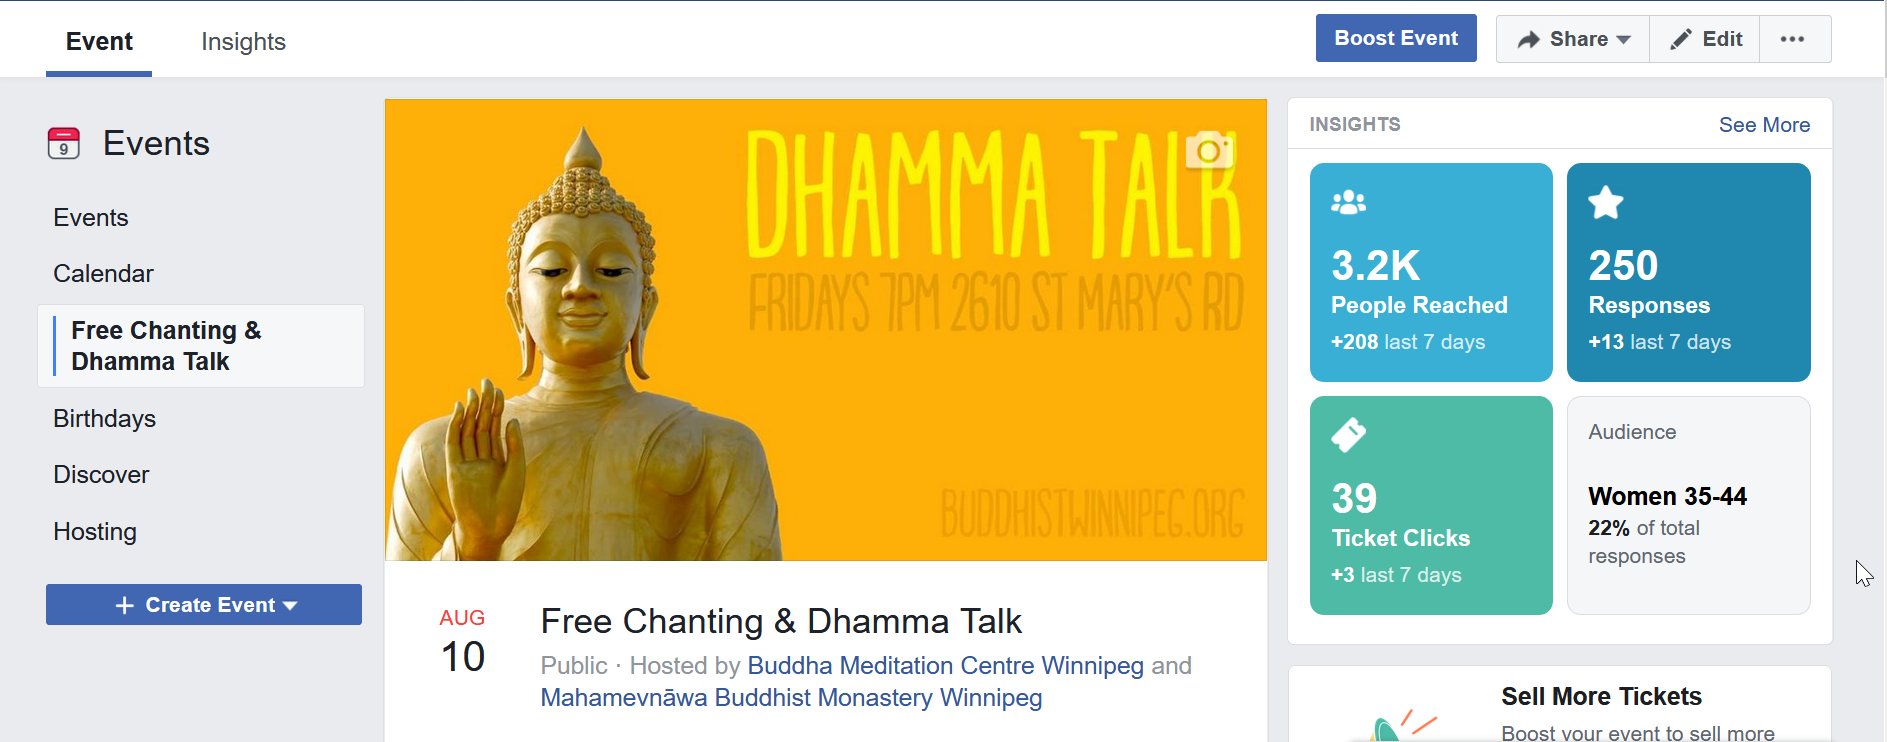
14. Now you will see the page for your event.
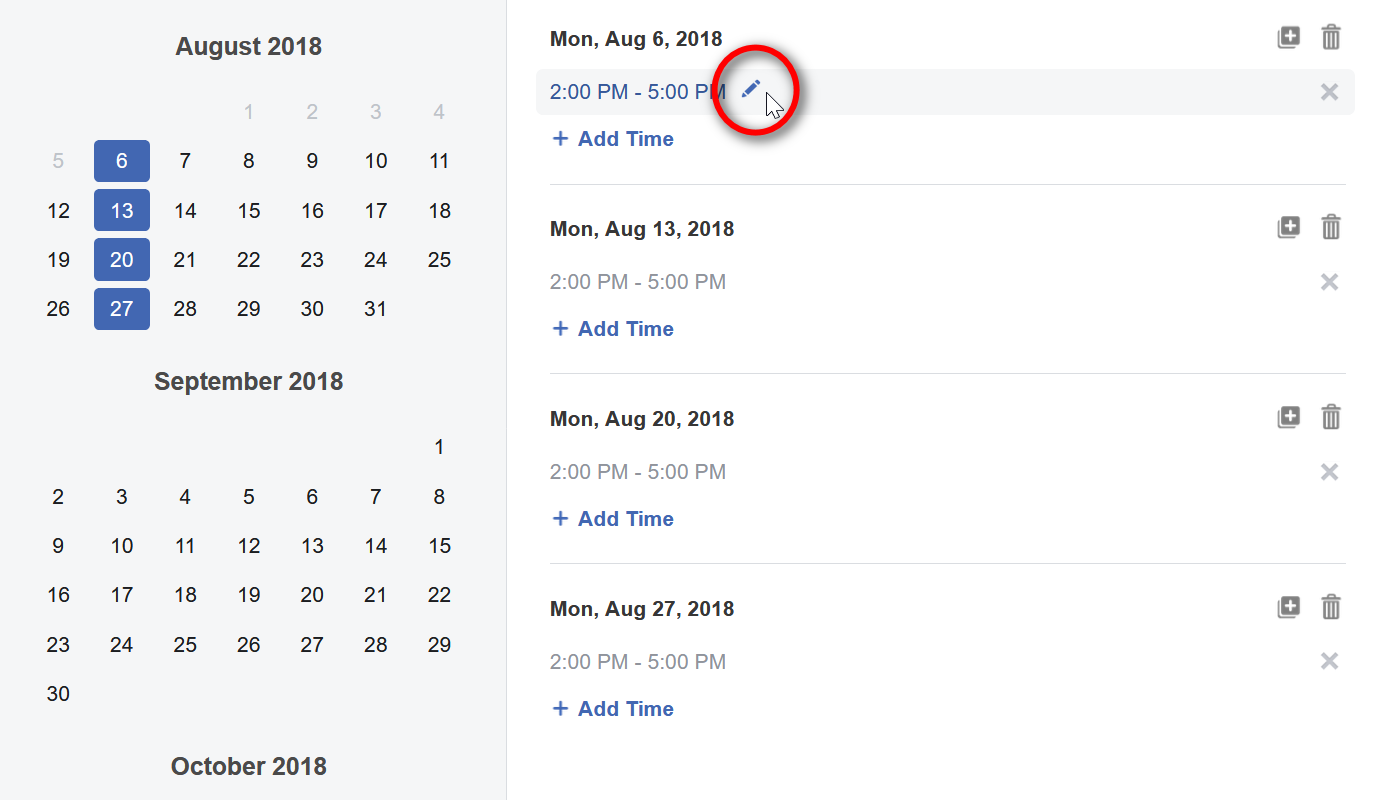
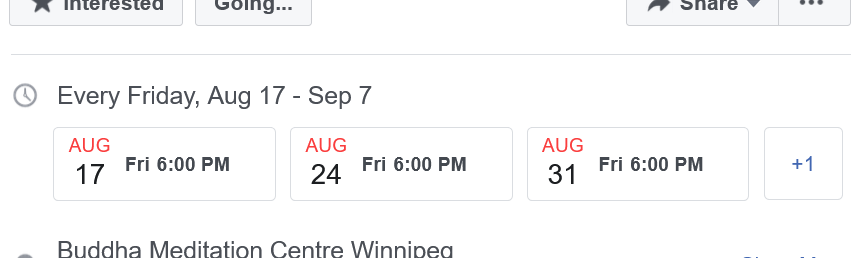
If you have chosen multiple days, you will see the different days listed:
At the top of this page you can see how many people have seen your event. At first they are all zero. Check back later to see these numbers.
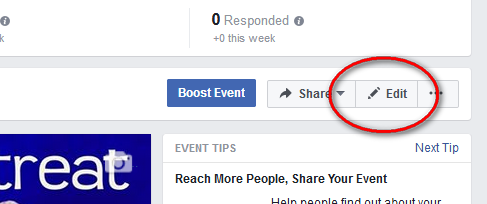
If you need to change anything, click on “Edit.”
If you go to your page’s home page, you will now see a section in the middle column called “Upcoming Events”

Congratulations!
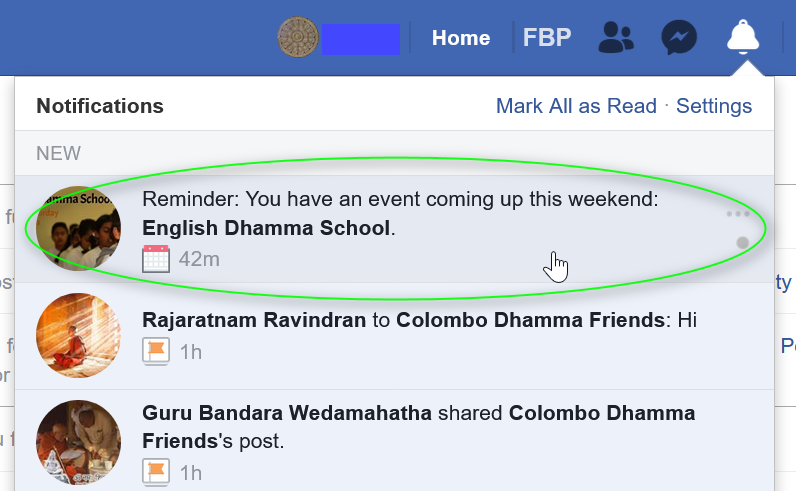
Now, what happens for the person who has clicked “Interested” or “Going”? One thing is that they get a notification like this when the event is getting close…