Search and Find
Facebook: Two Ways to Schedule Posts
The best way to keep your English Facebook page alive is by regularly posting things. And the easiest way to do this is by scheduling posts. There are two similar ways to do this…
Method 1: Directly on the page
When you go to your Facebook page, you will see the box to create a post. Go ahead and create the post as usual.

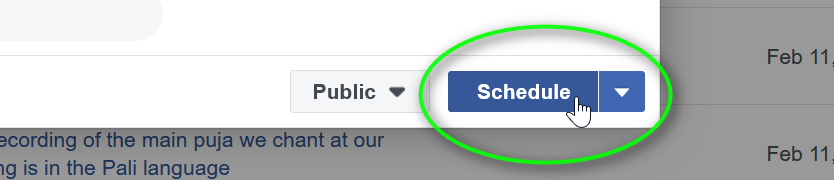
Then when you are ready to schedule it, first click the drop down arrow, then click “Schedule.”

This will pop up the Schedule Post window. Choose the date you want to post and click “Schedule”. That’s it! But if you are posting many, there is a better way.

Method 2: From the Publishing Tools page
If you are going to be scheduling more than one post, it is better to do it from the Scheduled Post page of the Publishing Tools section.

It opens to the history of your posts, or Published Posts. Click on Scheduled Posts.

You will see the same blue “+ Create” button on the right. Click that.

Now you can create a post. Everything works exactly the same, EXCEPT… Now instead of the button at the bottom saying “Publish” it says “Schedule”. This saves you a click. But more important, it prevents from accidentally posting something you want to schedule.
The other advantage to this is that you can quickly see what days you have a post scheduled…

Editing, deleting and rescheduling
If you need to change something on the post you scheduled, just click the post in the list. Then click the three dots…
If you need to reschedule or delete or publish immediately, you can click the check box next to the post in the list and click on “Actions”

That’s it! Happy scheduling!