Search and Find
Automatic Forwarding a Gmail Account
If you have an e-mail address you want to always forward to another account, it is very easy to do this in Gmail.
There are two steps: 1. Getting permission to forward and 2. Starting the forwarding.
1. Getting Permission to Forward
Sign in to the account that you want to forward. Go to your settings in Gmail: click on the gear icon and then select “Settings”.

Then click on “Forwarding and POP/IMAP”.

Then the very top section is called Forwarding. Click on the button that says “Add a forwarding address.”

Then there will be a popup window. Enter the the address you want the emails to go TO. Then click “Next.”

Then you have to agree. Click “Proceed.”

A message will appear telling you to go check the e-mail account that you are forwarding TO and open the e-mail they just sent. Click “OK.”

Now log in to the Gmail account you are forwarding TO. Check for the email with “Gmail Forwarding Confirmation” in the subject.

In that message there will be a very long link you need to click to finish the permission process.
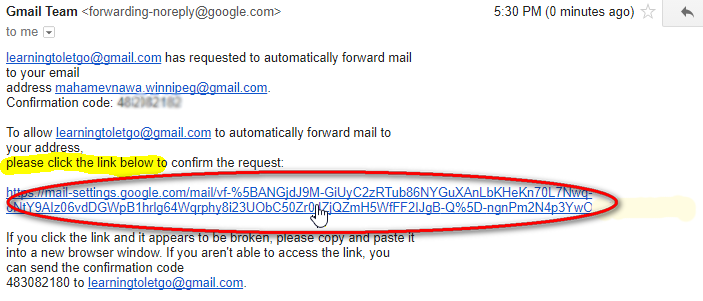
After you click it a new tab will open with a button to click to “Confirm.”

Next you will get the “Confirmation Success” message. You can close that tab.

2. Starting Forwarding
Go back to the e-mail account that you are forwarding from and refresh the page by pressing Ctrl R on the keyboard.
Click on the gear icon and select “Settings.” Then select “Forwarding and POP/IMAP”
Now in the Forwarding section at the top there will be two options:
- Disable forwarding
- Forward a copy of incoming mail to…
Select “Forward a copy…”

Now you have to decide what you want to happen to the mail in the original account. If you select “keep Gmail’s copy in the inbox” then they will stay there and be marked unread.

Then scroll to the bottom of the screen and click “Save Changes.”
